Wooting 60he Deep Dive: Gaming Keyboard with Unmatched Customisability & Typing Feel
While my keyboard arrived on the 19th of July, I didn’t really get to do anything with it until 1st August. For one, I was in hospital between the 18th and the 27th, a different story for a different day. But when I got back, my priorities weren’t exactly to go straight back into making content; I’m sure you understand.
Building the Wooting 60he
On the 1st of August, I did get to play around with it, and the first point on my agenda was to actually build the thing. Take the PCB including the switches out of the plastic casing that it came in, place it in the case that I bought (more on that later), and also move over the foam pad to the new case, because why not?
If you remember the YouTube Short I uploaded a while ago, showcasing the blank black PBT keycaps I bought, this was a puzzle and a half to figure out where everything goes and in which direction. The only keys I knew to place from the get-go were F, J, Space, and Enter; the rest turned out to be quite the struggle. Especially the letter keys, which I assumed were all the same, are not. So just putting this thing together, which I thought would take me a few minutes, took almost an hour. It was reminiscent of doing an actual puzzle, so I was mildly entertained, mostly by my own stupidity, but entertained nonetheless. I did get there in the end, but that was just the physical part of building it. Now it came to doing the things for which I wanted this keyboard in the first place.
Customising layers
The first order of things was to outright remove any caps lock functionality. I’m aware that various keyboards allow users to alter the function of the caps lock key. I’ve never been keen on the idea of changing a key or button’s behaviour solely within the operating system. For a console, it’s fine; using the accessibility features of remapping buttons on the PS4 and PS5, for example, I have no issues with that. On a keyboard, though, it can get quite annoying, from my perspective at least.
What if I change my setup, the systems, I have to reinstall the operating system, some random update changes how your operating system recognises your hardware, if I want to switch between MacOS and Windows, as I am constantly doing due to the KVM setup I am using, and a whole host of other things, that could get annoying over a longer period of time. The way layers and profiles work through the wootility software is perfect for what I was looking for. Granted, it’s nothing groundbreaking, but out of the box, it did all the things that I wanted, so I didn’t have to jump through any extra hoops to get everything working the way I wanted it to work. This is still week one for me, so chances are I’ll find some issues later down the line, but so far, things have been working out for me just fine. Now then, this is how I’ve set up my layers.

Main Layer
The main layer is pretty standard; the only noteworthy keys are that capslock is now FN1, and the three keys on the bottom right are also FN keys. Another FN1 key, an FN2 key, and an FN3 key. The FN3 is a toggle, just like a caps or, or more accurately in this case; a num lock key would be.
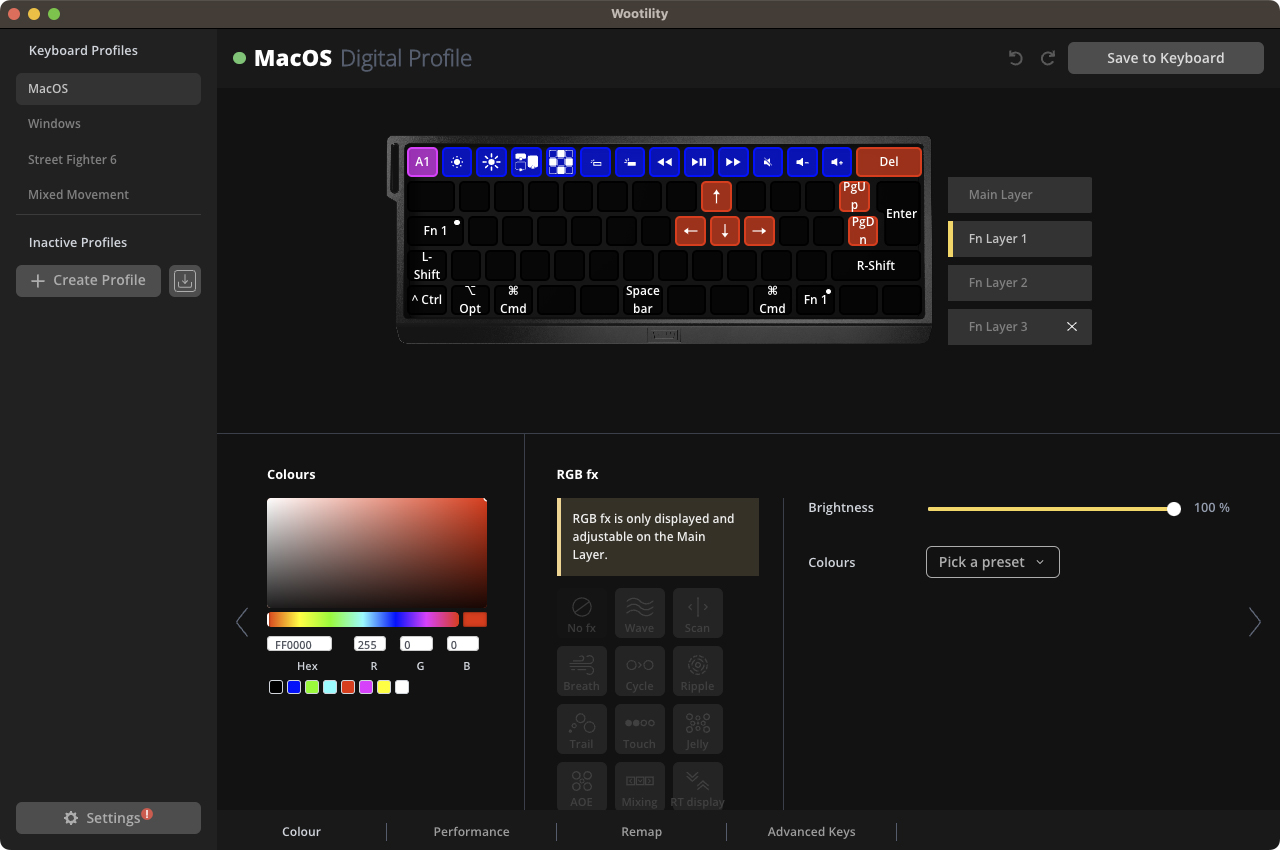
FN Layer 1
For the FN1 layer, starting with the top row, we have an A1 key, which switches the profile to the Analog 1 profile, which in my case is the windows layout. All that means is that cmd and option are swapped around on both sides, so that the windows and alt keys are in the correct spots whenever I am using Windows. Following that, we have the standard media keys from brightness to exposé, launchpad, keyboard brightness, media playback buttons, volume buttons, and lastly a delete key. Next to the enter key are page up and down keys, and I, J, K, L serve as my arrow keys.
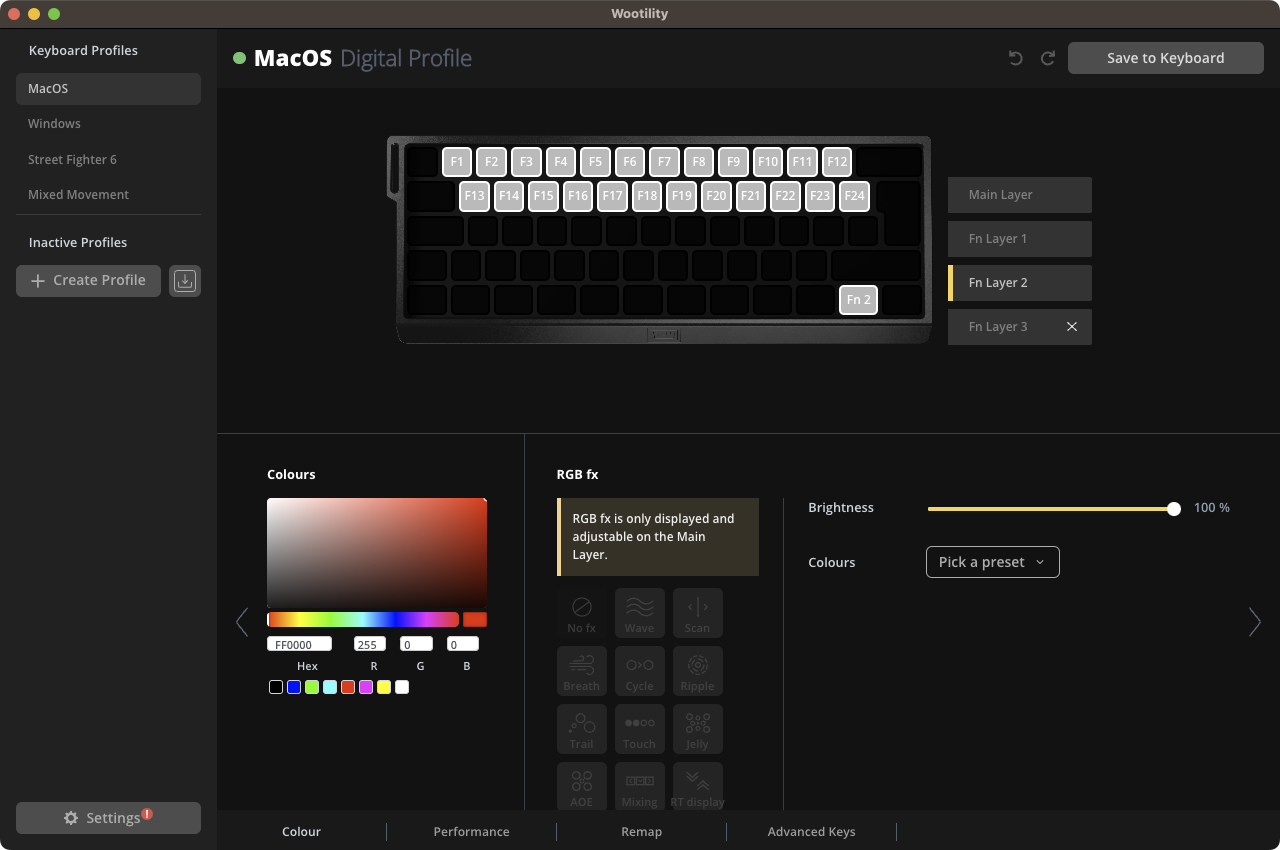
FN Layer 2
The second FN layer doesn’t have much of a function just yet, so for the time being, I just assigned the keys from F1 to F24, which are most likely going to be used for macros and OBS shortcuts, I guess. I honestly haven’t put too much thought into it yet. As I edit this video, I might find ways to optimise my Final Cut shortcuts using the FN2 layer. Also, I haven’t checked out others’ setups, as I prefer experimenting on my own first. After making a few videos, I’ll definitely see how other creators are doing things though.
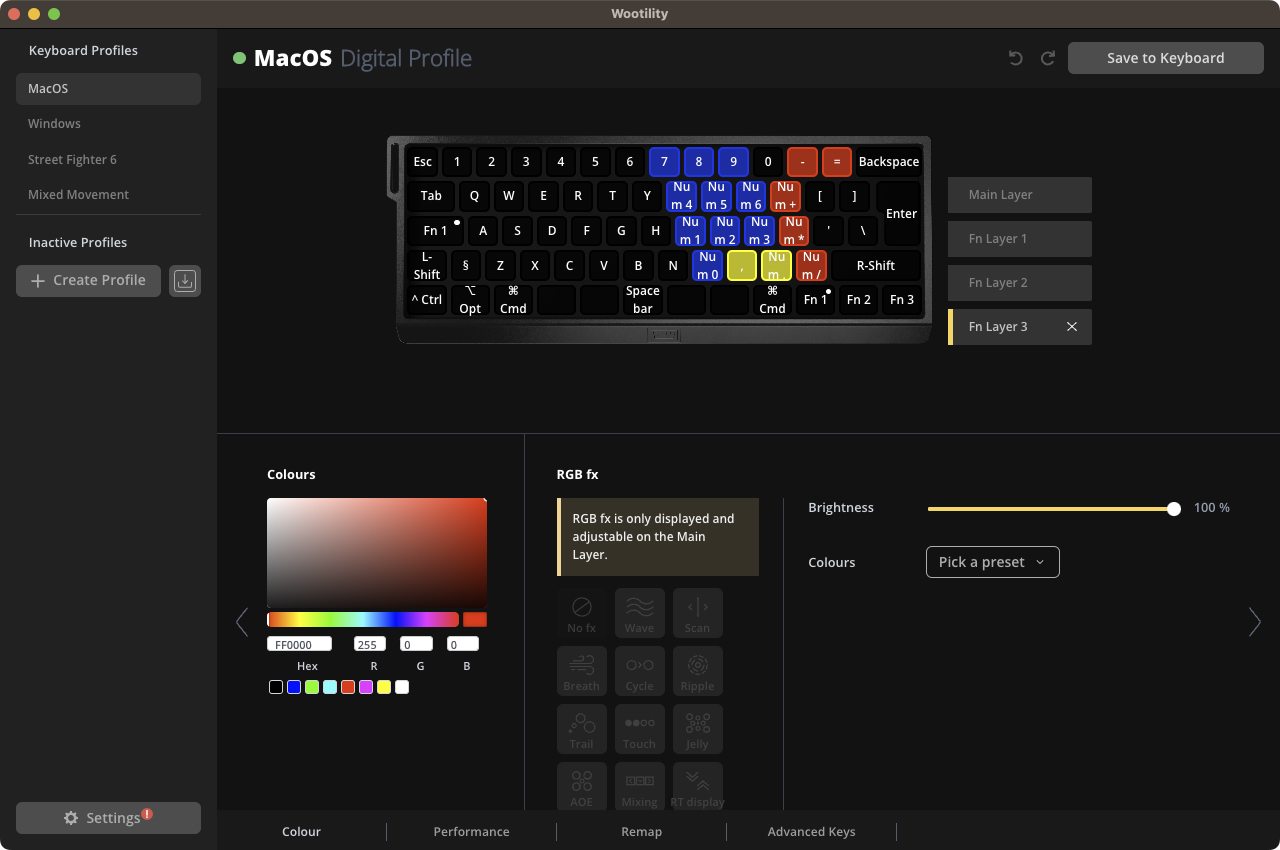
FN Layer 3
The third function layer is simply a numpad. You see, I really like numpads, but as I mentioned way back when I was talking about the differences between the Keychron K6 and the Apple Touch ID, I don’t like that I kept bumping my mouse into it. And yes, that was partially because of the mouse itself, but it’s no doubt also the real estate a full-sized keyboard takes up on your desk. The reason why I like the functionality of a numpad is that I have always had trouble hitting the keys 5, 6, 7 correctly without contorting my fingers and wrists. Even doing that, my accuracy has always been awful with those three keys. A numpad negates that issue entirely. Sure, whenever I need to use the percentage or ampersand symbols it’s still going to be a little bit of a struggle, but those scenarios are far and few between, numbers on the other hand, that’s very common. And yes, 7 is still in the exact same position it’s always been at, but as I am now orienting myself on J, K, and L being 1, 2, and 3, I am now moving my hand for this layout differently than I would be during normal typing sessions anyway.
Profiles
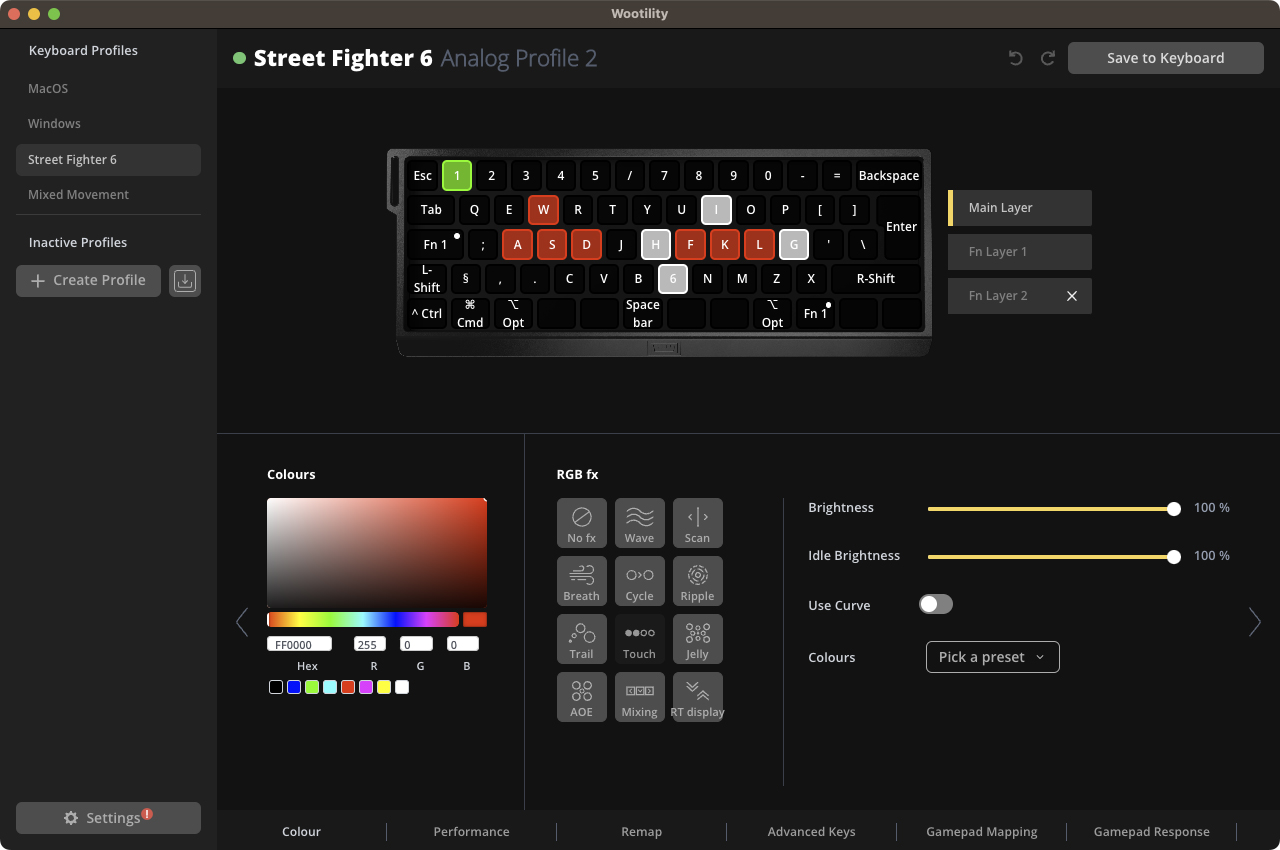
In addition to the MacOS and Windows profiles—which differ mainly in the placement of the alt, option, and cmd windows keys—I’ve set up a Street Fighter 6 profile. This was slightly trickier due to the game’s odd restriction on binding non-lettered keys like semicolon, period, and comma, for example. It’s an unusual and somewhat senseless limitation. While I don’t plan to extensively play Street Fighter 6 using a keyboard, I enjoy experimenting with Street Fighter 6’s modern controls. To that end, I believe this keyboard offers me more flexibility than my Hitbox does. As you can see, typing any sort of text into the game like this would be a struggle, so I’ve set up a typing layer, as well.
Typing feel
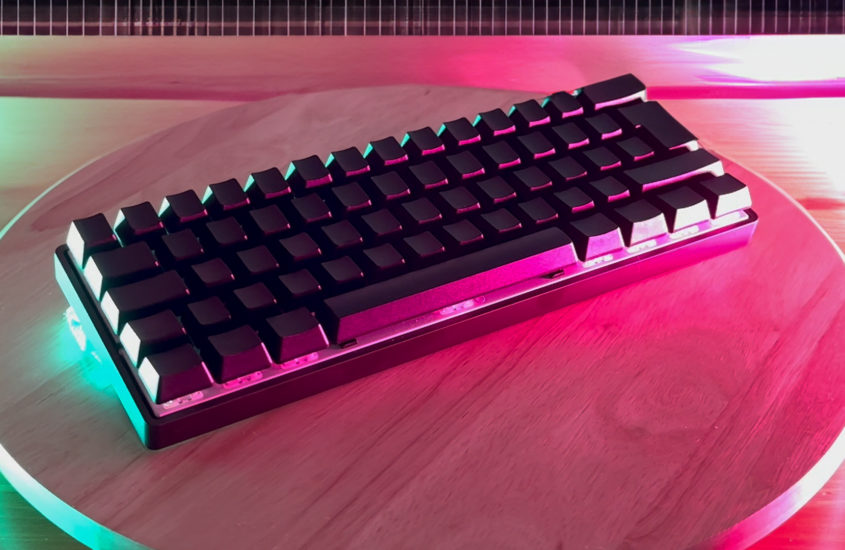
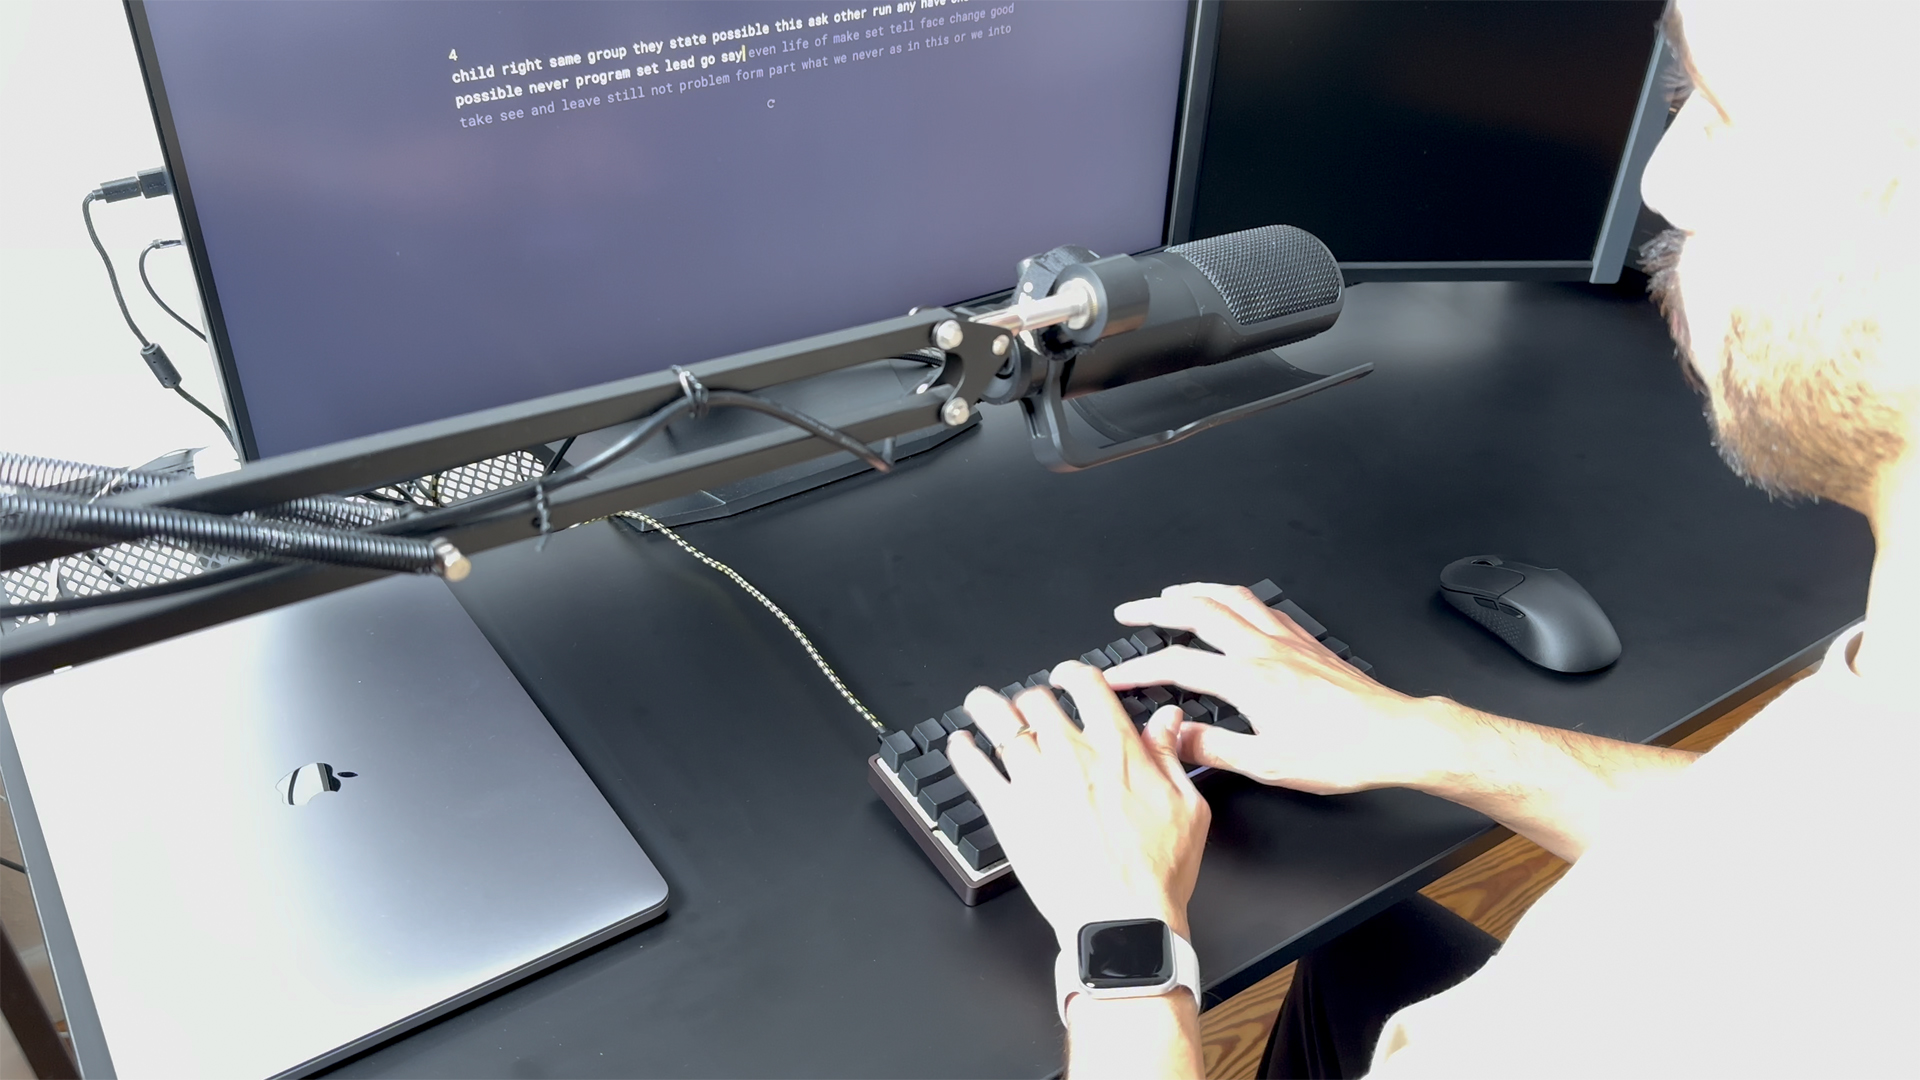
The typing feel is, by and large, dependent on both the keycaps as well as the switches, of course. The switches, in this case, are the Wooting Lekker switches, which are linear optical switches, as opposed to mechanical ones. Now, combining those switches with these keycaps and this case (which is not by Wooting, by the way), the entire setup just feels really good. In addition to that, as it turns out, even with blank keycaps, my typing speed has gone up quite significantly. I’m not sure if this is due to the switches, the keycaps, the profile of the keycaps, the layout, or the combination thereof, but I am now consistently hitting between 70 and 80 words per minute, whereas before, I was around 50 to 60. So at least for my typing style and habits, this is a marked improvement.
Typing test (monkeytype)
For reference, I’ve done a typing test on monkeytype, not to show off my speed—because let’s be honest, it’s not particularly impressive—but to show you the improvement in my that I mentioned about earlier (feel free to check out the video at the top for that).
Blank Black PBT caps (feel / quality / sound)
The blank black PBT keycaps, by the way, set me back by 45 €, which I think is a fair price to pay for the quality they deliver. I’m not sure yet how the sound profile is going to change once I finish setting everything up, but for the time being, I’m quite satisfied with how everything sounds. That being said, it is quite a deep sound, and while that can be pleasing to some, I’m pretty sure there’s going to be a contingent of people who are going to absolutely hate it.
Case
I’ve gone through three cases so far. The first one was a Tofu 60 2.0 case, which unfortunately wasn’t compatible. After that, I bought a coffee-coloured aluminium case. I wasn’t the biggest fan of it due to how it made the PCB look; it was too exposed for my liking. So I have now ordered a Tofu 60 Redux, which is supposed to arrive sometime in November. For now, I am sticking with the current one. If you’re curious about the costs, the keyboard was 169 €, the keycaps 45 €, and the cases in total were 351.34 €. That brings the grand total to 565.34 €.
Closing Words
All in all, I’m quite pleased with the Wooting 60he. The only thing that’s left for me to figure out is the Tofu 60 Redux case and a proper sound test. In games, it performs as you would expect a gaming keyboard to, but for me, the real value is in the typing experience and the customisability.
But now it’s over to you: have you used the Wooting 60he? If not, what kind of keyboard are you using?
See you next time!